Revitalize Your Kitchen with a Fresh Coat of Paint: DIY Painting Tips and Tricks
Revitalizing your kitchen can be as simple as painting the walls. Accenting your walls adds so much character, but painting can be even easier. Painting your kitchen walls not only adds a fresh new look to your space, but it can also increase the value of your home. Whether you’re looking to update your kitchen for your own enjoyment or preparing your home for sale, a fresh coat of paint can make a significant difference in the overall look and feel of the space.
 |
 |
In addition to the aesthetic benefits, painting your kitchen walls can also protect them from stains and damage, making it easier to clean and maintain your kitchen. Not only does painting your kitchen walls instantly enhance its appearance, but it can also improve its functionality and increase its value. With the right tools, techniques, and paint colors, painting your kitchen walls can be a fun and rewarding DIY project that can transform your space without breaking the bank.

The benefits of painting your kitchen are manifold. First and foremost, painting your kitchen walls can instantly transform the look and feel of your kitchen. A fresh coat of paint can brighten up your space, create a more open and airy feel, and add character and personality to your kitchen. This is particularly important if you have outdated or dull walls that are bringing down the overall aesthetic of your kitchen. With a new coat of paint, you can create a more modern and cohesive look that enhances the beauty and functionality of your kitchen.

In addition to enhancing the appearance of your kitchen, painting your kitchen walls can also improve its functionality and make it a more comfortable place to spend time in. For example, if you have a small kitchen, painting the walls with a light color can make the space feel more open and spacious and therefore improve your movement in the space.


Alternatively, if you have a large kitchen, painting the walls with a darker color can create a more cozy and intimate feel. Additionally, you can use paint to create an accent wall or to highlight architectural details in your kitchen, such as a backsplash or a built-in shelf.

Finally, painting your kitchen walls can increase the value of your home. If you’re planning to sell your home, a fresh coat of paint can make your kitchen look more appealing to potential buyers. Buyers are often willing to pay more for a home that has a well-designed and updated kitchen, and painting your walls is a cost-effective way to make your kitchen look its best. Even if you’re not planning to sell your home anytime soon, investing in a beautiful and functional kitchen is always a smart choice that can pay off in the long run.

Overall, revitalizing your kitchen with a fresh coat of paint on your walls is a simple and effective way to enhance its appearance, improve its functionality, and increase its value. In the following sections, we will provide you with valuable tips and tricks for a successful DIY paint job, including choosing the right paint and color, preparing your kitchen walls for painting, and executing your painting project like a pro. With our expert guidance, you can create a beautiful and functional kitchen that you’ll love spending time in for years to come!
Choosing the Right Paint Color
When it comes to painting interior walls, the question of whether to use oil-based or latex-based paint is a common one. We highly recommend using latex-based paint for your interior walls. While oil-based paints have excellent adhesion and durability, they also have a strong odor and require solvents for cleanup, making them less user-friendly than latex-based paints. On the other hand, latex-based paints are water-based, which means they dry quickly, have low odor, and are easy to clean up with soap and water.

Latex-based paints also offer excellent coverage and are highly resistant to fading and peeling, making them perfect for interior walls that need to withstand the wear and tear of daily use. When choosing a latex-based paint, look for a high-quality paint that will provide a smooth, even finish and long-lasting results. With the right paint and a little bit of elbow grease, you can transform your interior walls into a stunning showcase for your personal style and design preferences.
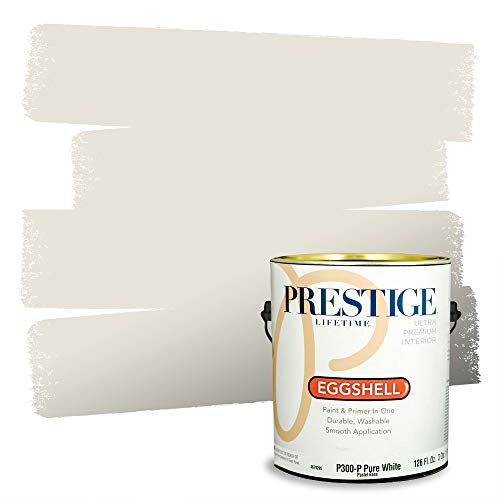
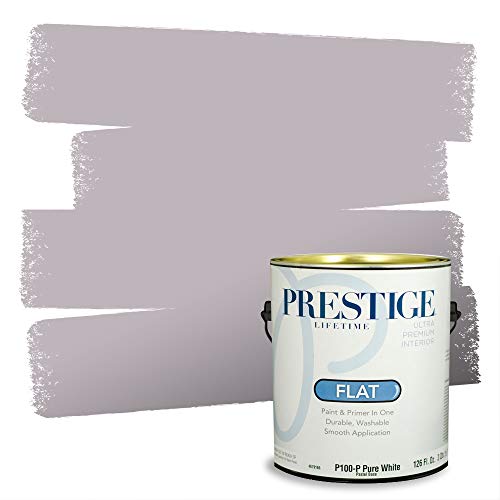
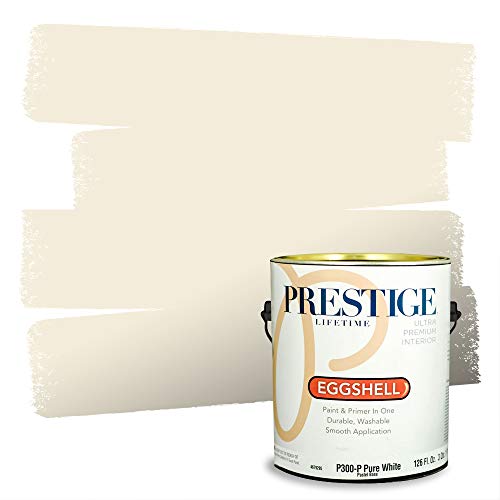
In addition to the type of paint, it’s also important to consider the sheen or finish of the paint when selecting the best interior wall paint for your kitchen. The most common paint sheens include flat, eggshell, satin, semi-gloss, and high-gloss. Flat paint has no shine and is ideal for covering up imperfections on walls, but it can be difficult to clean and may not be the best option for high-traffic areas like kitchens.

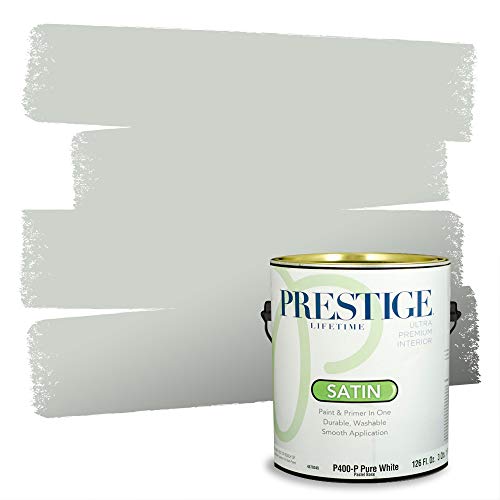
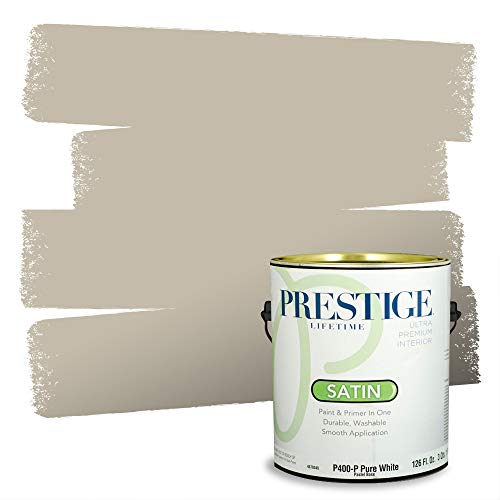
Eggshell and satin finishes offer a slight sheen and are easy to clean, making them popular choices for kitchen walls. Semi-gloss and high-gloss finishes offer the most shine and are highly durable, making them ideal for areas like backsplashes and cabinet doors.

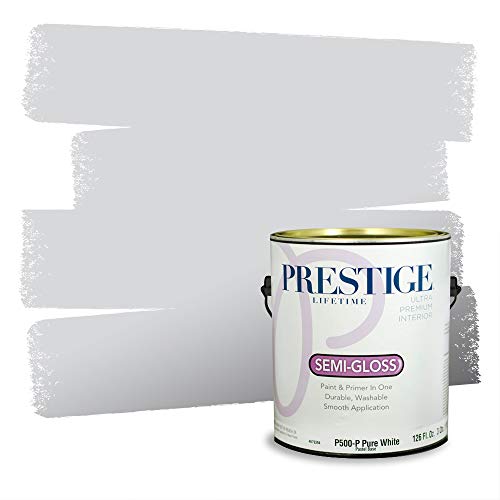
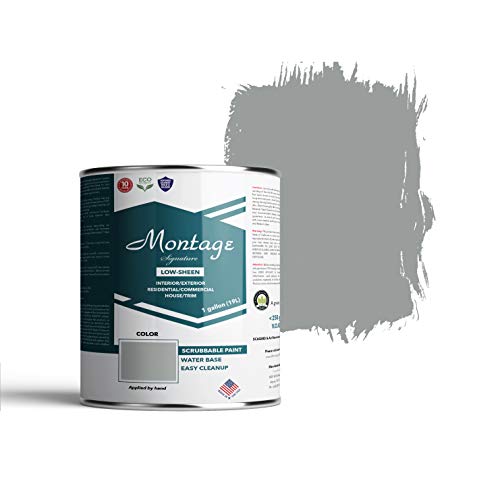
When selecting the best interior wall paint for a kitchen, three excellent options include Sherwin-Williams Duration Home, Valspar Signature and Montage Signature. Sherwin-Williams Duration Home is a water-based acrylic paint that offers excellent durability, coverage, and resistance to stains and moisture. It also features a low-VOC formula, making it a safe and eco-friendly option for your home.
Valspar Signature is another high-quality option that features a one-coat formula, making it a time-saving option for DIY painting projects. It also offers excellent coverage and durability, making it an ideal option for kitchen walls.
When selecting a color scheme for your kitchen walls, it’s important to consider the existing colors of your cabinets, countertops, and flooring. You want to choose a color that complements these elements and creates a cohesive and stylish look throughout your kitchen. Use a color deck to choose and compare.

For example, if you have dark-colored cabinets and countertops, you may want to choose a lighter-colored paint to create a contrast that makes your kitchen appear brighter and more spacious. Alternatively, if you have light-colored cabinets and countertops, you may want to choose a darker paint color to create a more dramatic and cozy feel.

Some popular paint color choices for kitchens include white, gray, beige, and blue. White is a timeless and classic option that can make your kitchen look clean, modern, and bright. It’s also a great color choice if you have a small kitchen as it can create the illusion of a larger space.
Gray is another popular color choice for kitchens, as it creates a sophisticated and elegant look that complements stainless steel appliances and white or dark-colored cabinetry.

Beige is a warm and neutral color that can add warmth and coziness to your kitchen, especially if you have wooden cabinets or flooring. Finally, blue is a trendy color choice for kitchens, as it can create a calming and serene ambiance that is perfect for a relaxing and inviting kitchen space.
In conclusion, selecting the best interior wall paint for your kitchen involves considering both the type of paint and the sheen or finish of the paint. It’s also important to choose a color scheme that complements the existing colors of your cabinets, countertops, and flooring to create a cohesive and stylish look. With popular paint color choices like white, gray, beige, and blue, you can create a beautiful and functional kitchen that is sure to impress. Consider these tips and high-quality paint options to revitalize your kitchen with a fresh coat of paint.
Preparing Your Kitchen Walls for Painting
Preparing your kitchen walls for painting is an essential step in achieving a smooth and long-lasting finish. Before starting, it is crucial to clean your walls thoroughly to remove any dirt, grease, or stains. You can use a trisodium phosphate (TSP) cleaner to clean your walls effectively.

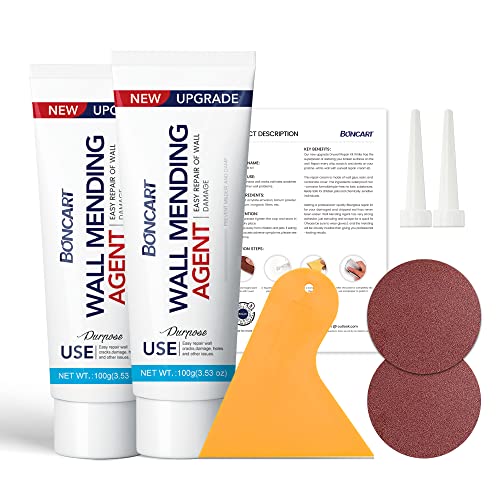
Next, inspect your walls for any holes, cracks, or imperfections. Use spackle or putty to fill any holes or cracks and sand them down for a smooth finish. Once the repairs are complete, it is time to prime your walls.
Priming is essential to provide a consistent surface for your paint to adhere to, as well as ensuring the paint’s color is accurate. Use a high-quality primer specifically designed for kitchen walls.
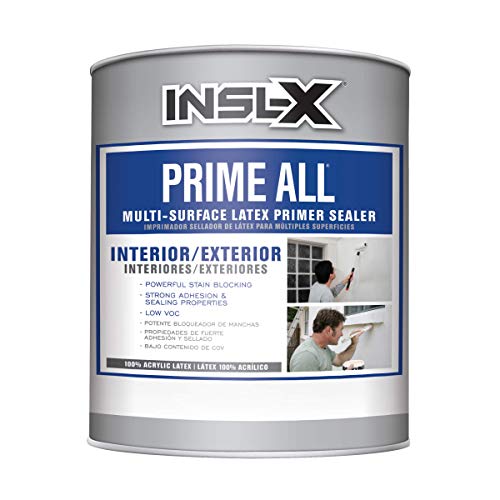
Before beginning the priming process, make sure to wear protective gear and ensure proper ventilation in the kitchen. This step is critical to protect yourself from harmful chemicals and ensure that the primer adheres correctly to your walls. Overall, following these steps will help you achieve a smooth and even finish, ensuring that your kitchen walls look brand new for years to come.
DIY Painting Tips and Tricks
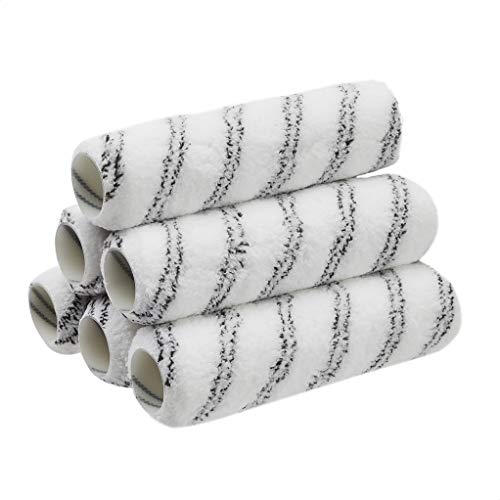
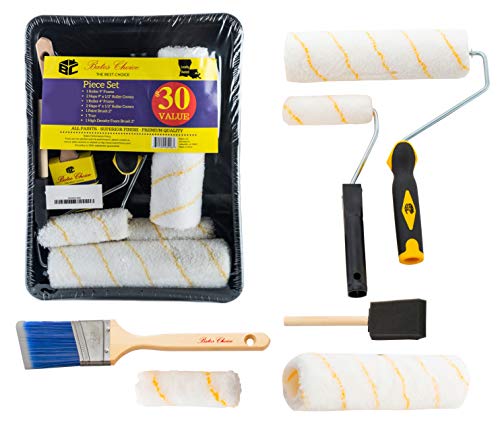
Painting your kitchen walls can be an exciting and rewarding DIY project. To achieve a successful paint job, it’s essential to have the right tools and equipment. For brushes, select high-quality synthetic brushes that will hold more paint and ensure smooth strokes. For rollers, choose a roller with the appropriate nap for your surface. Generally, a 3/8-inch nap is perfect for kitchen walls.
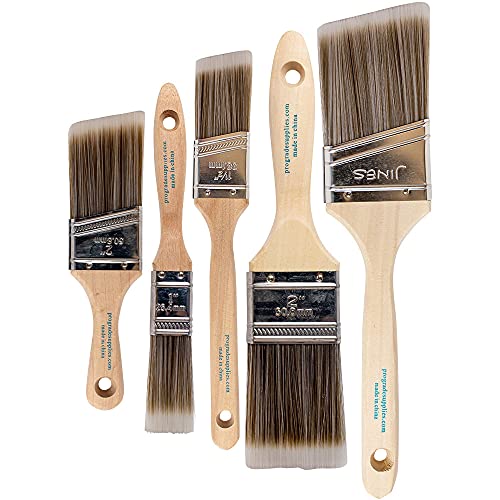
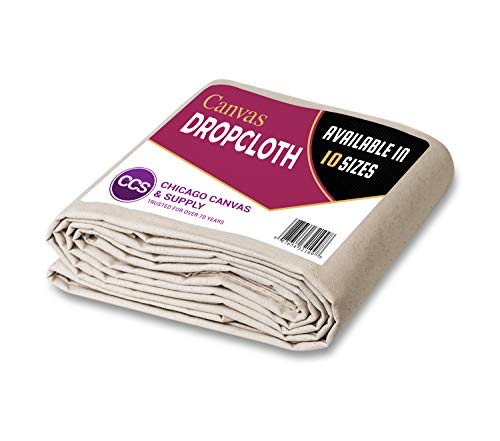
Using a good quality paintbrush and roller will avoid shedding or leaving fibers on the walls. You’ll also need painter’s tape to protect areas you don’t want to paint, and drop cloths to cover your floors and furniture.
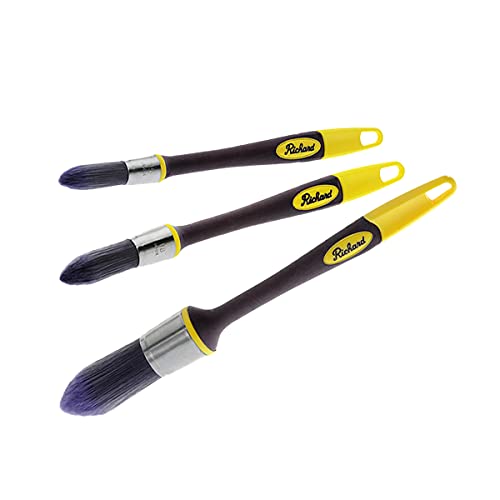
When it comes to painting techniques, start by “cutting in” around the edges of the wall using a brush. Cutting in is a technique that involves painting a narrow strip around the edges of the wall, including around doors and windows. This is the more detailed area where you have to paint slower. When cutting in, it is recommended to use a smaller brush or a paint edger tool for precision around corners, edges, and other tight spaces.
Once you have finished cutting in, use a roller to apply the paint to the rest of the wall. Always paint in a W or M shape, working from the top of the wall down to ensure even coverage. For larger areas, use a paint roller extension pole to reach high areas without the need for a ladder.

Avoid common painting mistakes by not overloading your brush or roller. You want to use just enough paint to cover the surface without leaving drips or streaks. Additionally, make sure to use enough paint to avoid having to go over the same area repeatedly. This step can cause the paint to become uneven and create smudges.
To achieve a professional-looking finish, it’s essential to use high-quality paint and apply it correctly. Start with a high-quality primer, especially if you are painting over a dark color, as this will help the paint adhere to the surface and provide a consistent finish. When applying the paint, use light and even pressure, and avoid applying too much pressure on the brush or roller. This technique will help you achieve a smooth and even finish.

Painting in natural light is an essential tip to consider when repainting your kitchen walls. Natural light provides the most accurate reflection of color, making it easier to select the right color and shade for your kitchen walls. When you paint in natural light, you can accurately gauge how the color will look under different lighting conditions, both during the day and at night.
Additionally, natural light can also help you see any imperfections or missed spots, allowing you to touch up those areas before the paint dries. Painting in natural light can also help ensure even coverage, as you can see how much paint you are applying and where you have already applied it. On the other hand, artificial light can distort the colors of the paint, making it challenging to get an accurate representation of the color you want. It’s best to paint during daylight hours or in a well-lit room with plenty of natural light to ensure the best possible outcome.
If you need to take a break during the job, you need to store your brushes and rollers temporarily. A great way to do this is to wrap the wet brushes in saran wrap and place them in the freezer. It keeps them ready to paint again when you come back from your cup of coffee. Just grab them from the freezer, unwrap them and keep on painting.
Finally, it’s essential to consider the impact of your painting project on the environment. Use low-VOC or zero-VOC paints if possible, as these are better for your health and the environment. Properly dispose of any paint, brushes, or rollers, as these materials can be hazardous if not disposed of correctly. Following these tips and tricks will help you achieve a beautiful and eco-friendly paint job that will last for years to come.
Clean Up and Maintenance
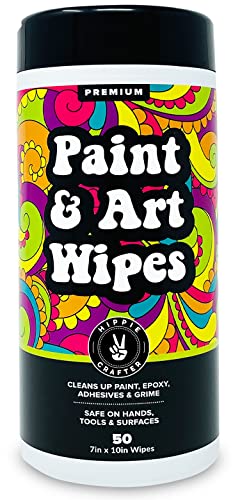
Proper cleaning and maintenance of your painting tools and equipment is crucial to ensure their longevity and reuse. After finishing your painting project, it’s essential to clean your brushes, rollers, and other equipment promptly. The easiest way to clean these items is by using warm soapy water. Gently rinse them under the faucet and then swirl them around in a bucket of warm, soapy water to remove any remaining paint.
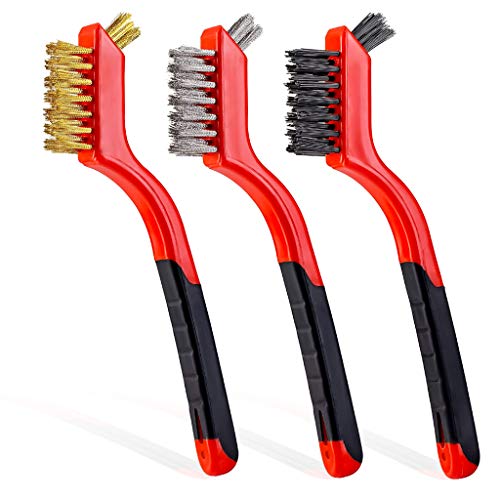
You can also use a comb or a wire brush to remove any paint that may be stuck in the bristles. Once you have removed all the paint, rinse them with clean water and allow them to air dry completely before storing them away.
Proper maintenance of your painted walls is also essential to ensure their longevity and appearance. To keep your kitchen walls looking fresh and new, you should wipe them down regularly with a soft, damp cloth to remove any dust, dirt, or grease buildup. Avoid using harsh chemicals or abrasive cleaners, as they can damage the painted surface.
If you notice any scuffs or scratches on your painted walls, you can touch them up with leftover paint. Keep a small amount of your paint in an airtight container for touch-ups and small repairs. Or use a touch up tool that you can store away for quick touch ups.

Another way to keep your kitchen walls looking fresh and new is to add visual interest by using wallpaper or tile backsplashes. These can be great options for adding texture, color, and pattern to your kitchen walls, and they are easy to install. Just make sure to choose materials that are moisture-resistant and can withstand the heat and humidity of a kitchen environment.

In conclusion, painting your kitchen walls can transform the look and feel of your space, adding personality and freshness to the heart of your home. With the right tools, techniques, and colors, anyone can tackle this project and achieve a professional-looking finish. By following the DIY tips and tricks provided in this article, you can prepare your walls, choose the best paint and color scheme, and paint your walls with ease. Remember to clean and maintain your tools and painted walls properly, and consider eco-friendly options for a more sustainable approach. With a little patience and attention to detail, you can revitalize your kitchen and create a space you’ll love spending time in. So why not take on this project and enjoy the benefits of a beautifully painted kitchen? We hope this article has provided helpful insights and inspiration for your next home improvement project.